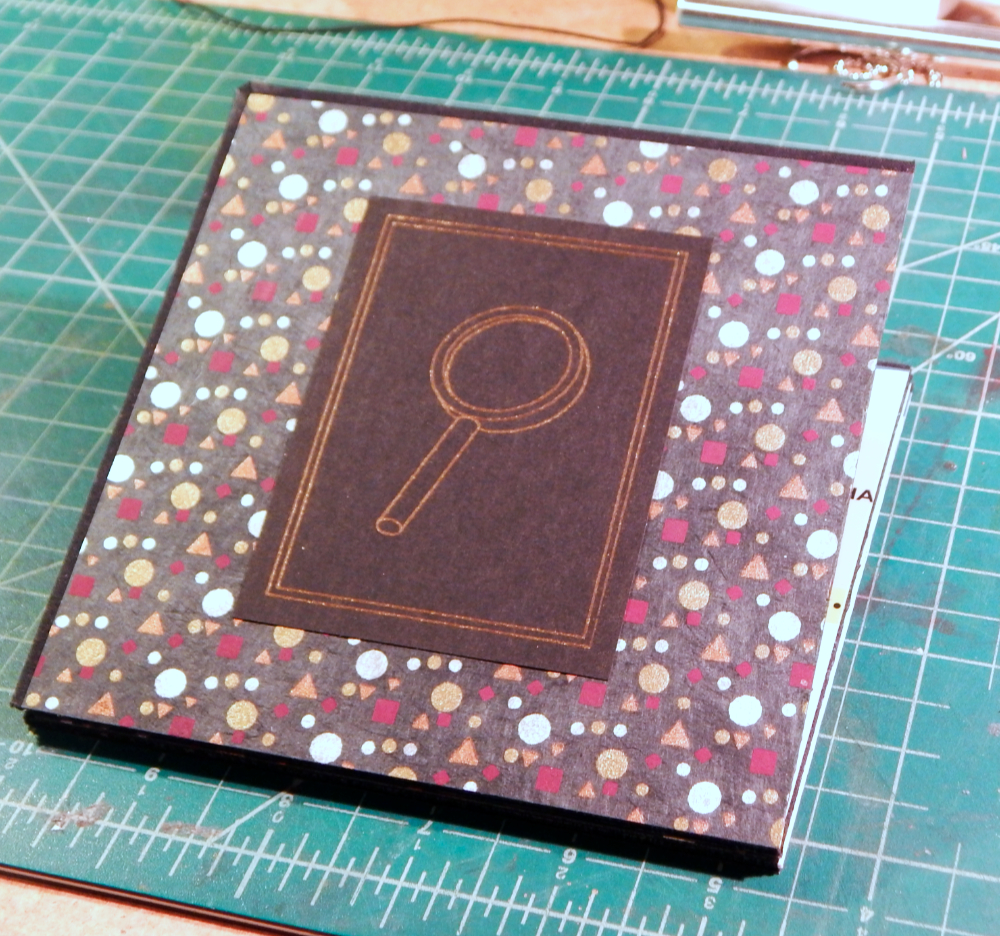
There is a certain murder mystery game that I enjoy playing with my niece and for her birthday this year I thought I would design a card with a mystery game theme. Well, this project got way out of hand and I ended up making a mini version of the game!

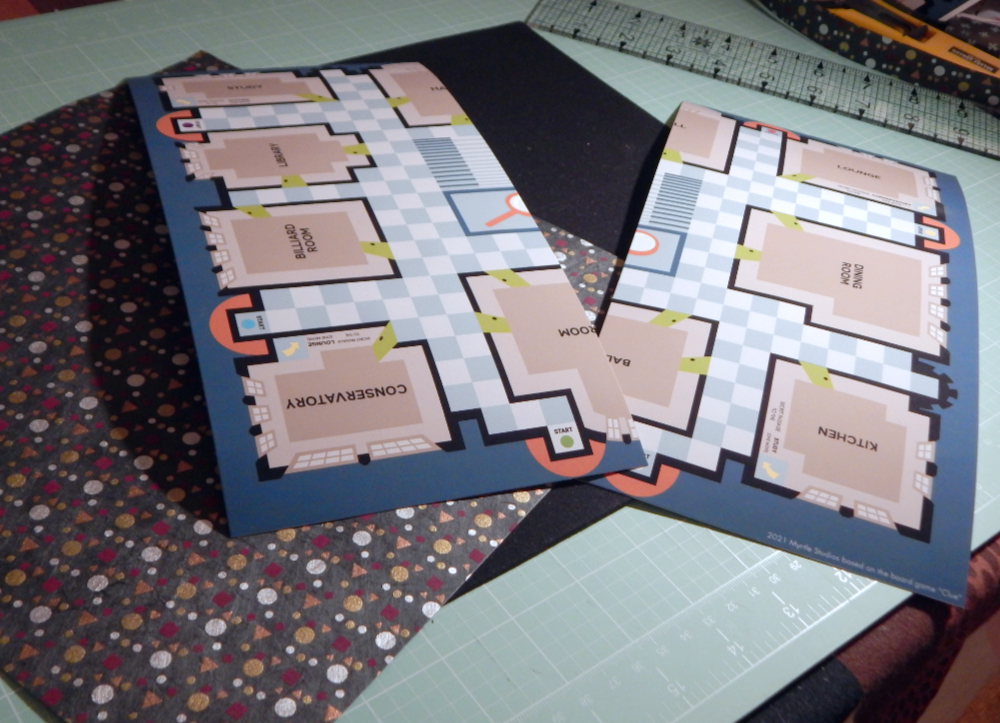
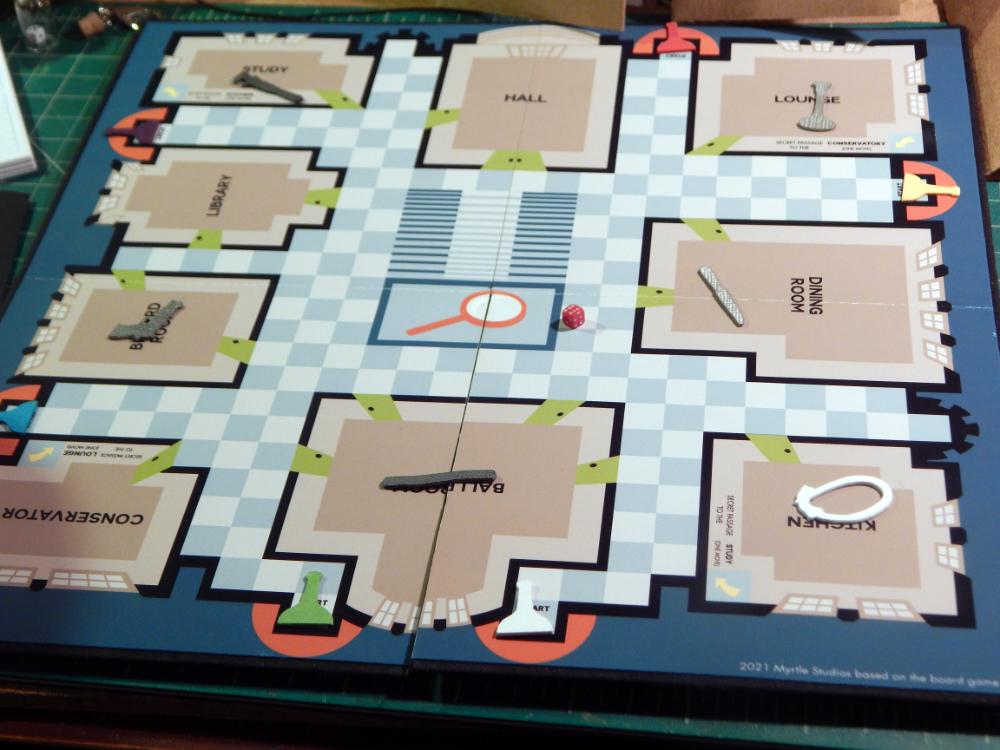
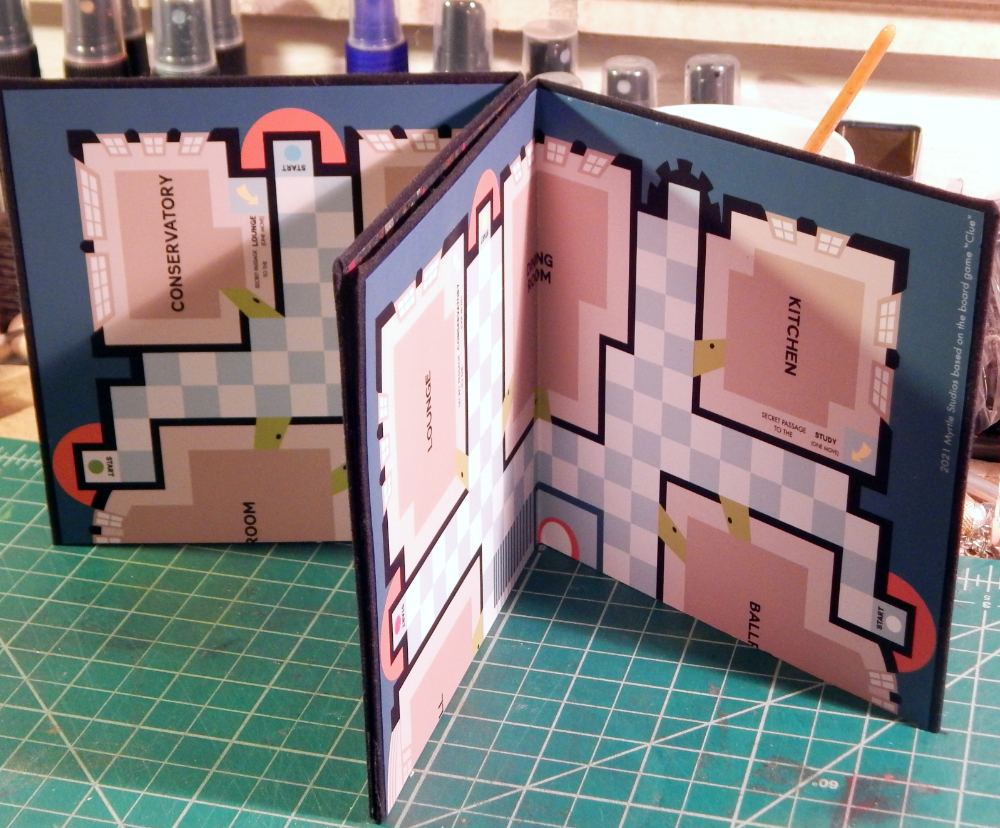
So yes, this project was heavily inspired by the board game “Clue”. I did a lot of design work on this, using Affinity Designer, and looking up lots of pictures of old game boards. I based the layout of the board on the 1940’s version of the game, also sometimes called “Cluedo”. Those older versions have beautiful boards with perspective views of all the rooms. I would have loved to recreate the same thing, but someone had already done that, so I came up with the idea of making it very graphic and use just blocks of color.
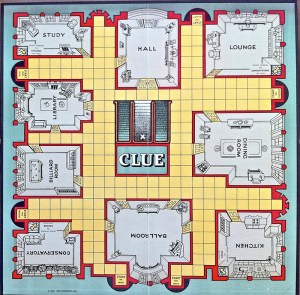
These are some of the images that I was looking at to inspire my game! The game board is from TheArtofMurder.com and there are lots of good resources there if you are into the game. I spent quite a bit of time designing the board, I was trying to make something new, but also keeping the feel of the original. But it was going to be smaller! For a sense of scale, the finished game board was 11″ x 11″, the perfect size to be able to print everything out at home.
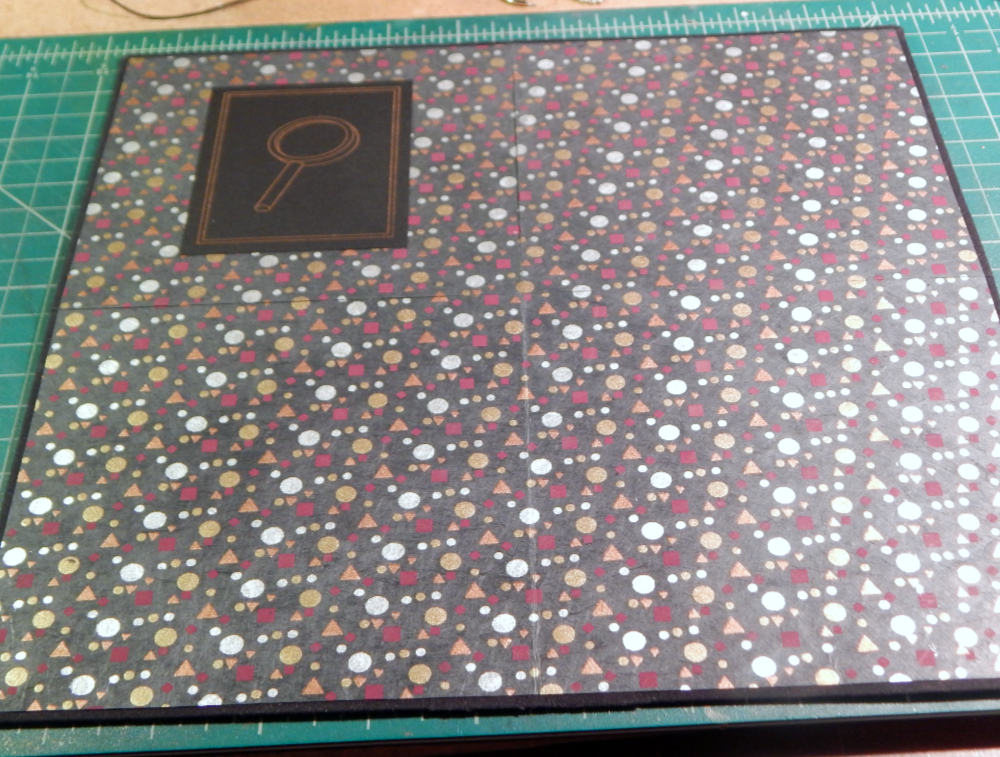
Since this was going to be more of a real game and not just a card, I had to do a lot of work to figure out how I was going to make the game board and how it was going to fold up. I used the thinnest chip board I could find, covered it with fabric, and with some careful cutting, it could fold up!
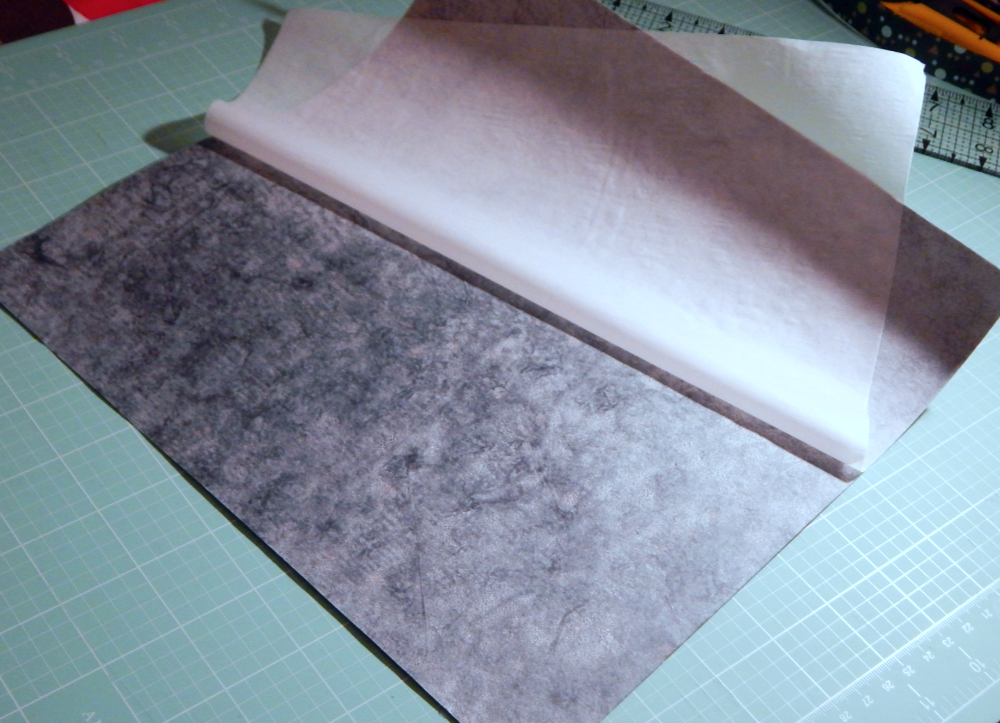
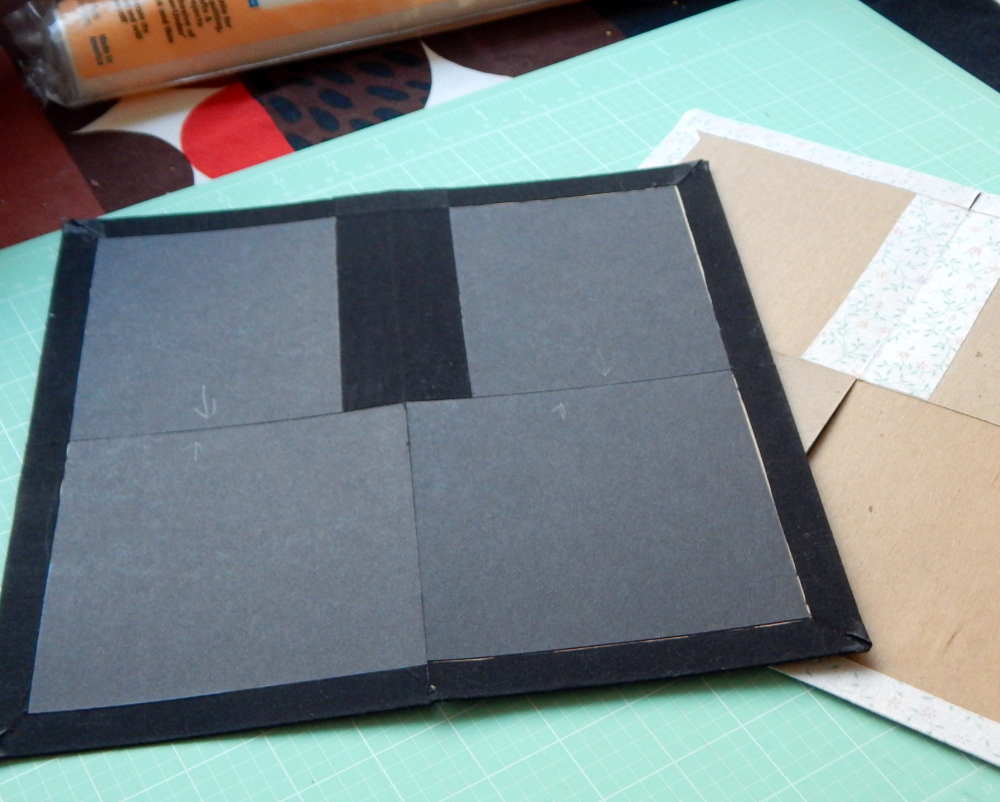
I used Wonder-Under to glue all the pieces together, which worked out great, it made it so easy to line everything up. I did make a mock-up version to work out the kinks, but for the finished project I used black fabric for all the hinging parts and to cover the chip board.
Then it was on to all the game pieces and cards!
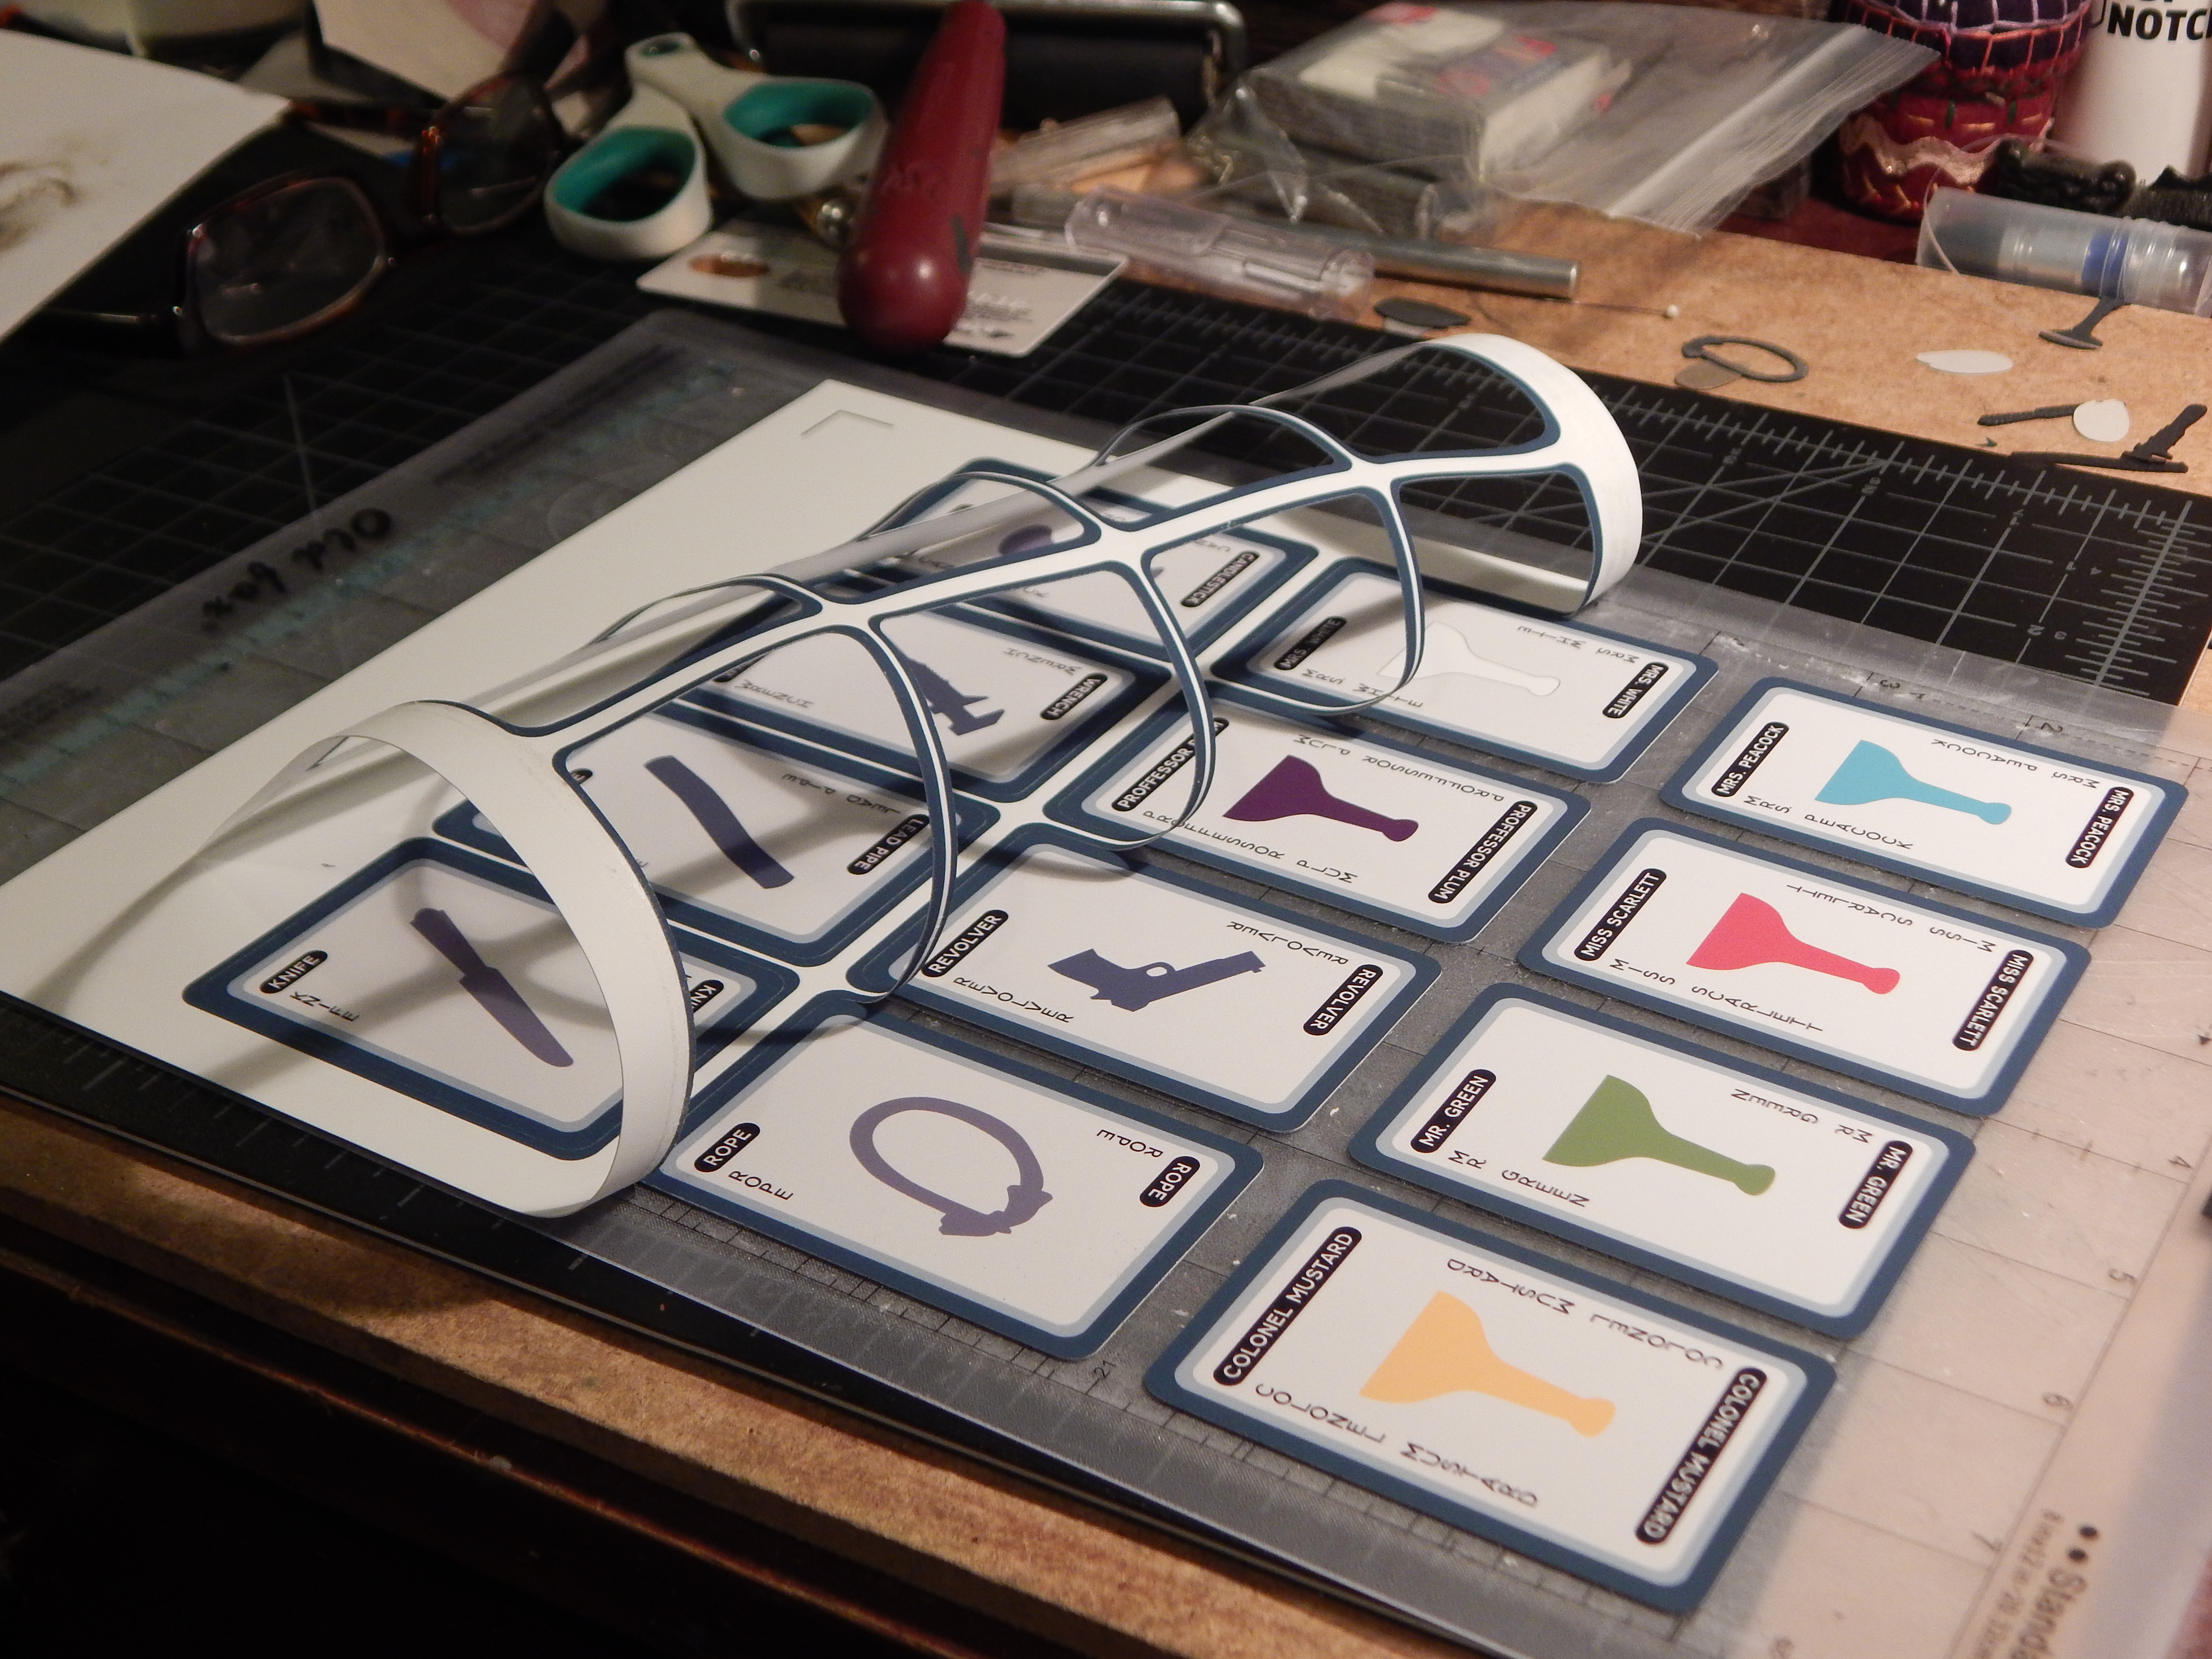
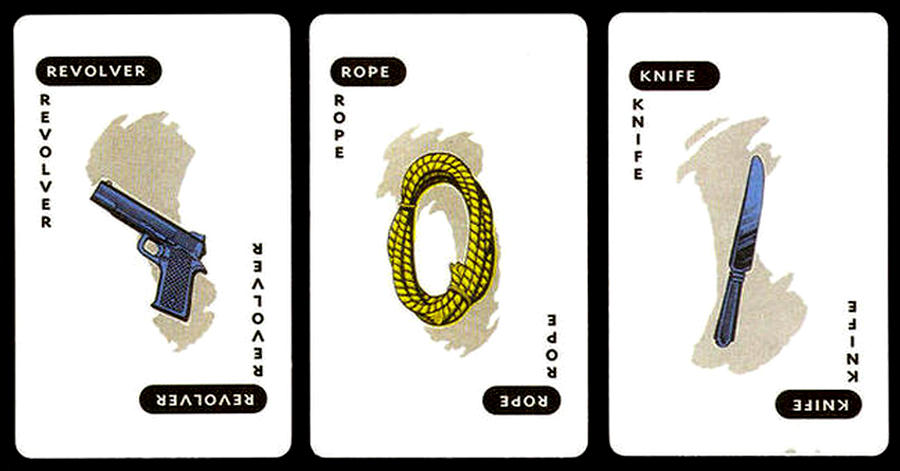
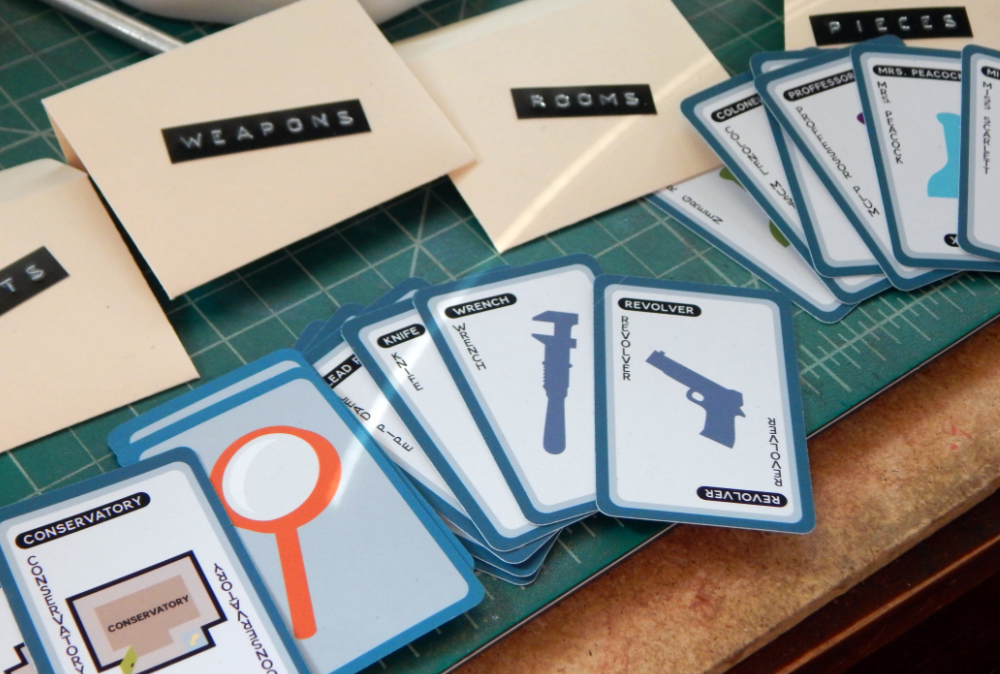
I made the cards as simple and graphic as possible, but I did love the style of the titles from the original game so I recreated them for my cards. The nice thing about the computer designing, is that it was a breeze to create all the game pieces on my Silhouette Portrait.
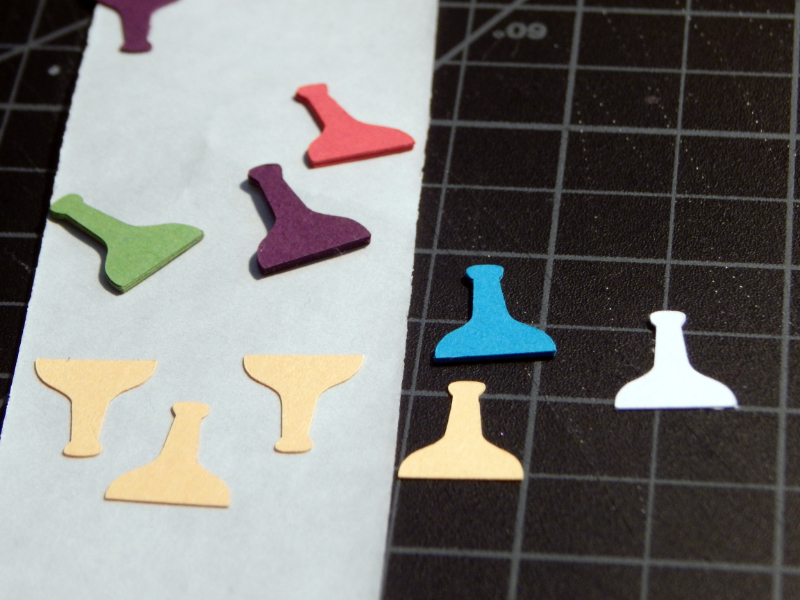
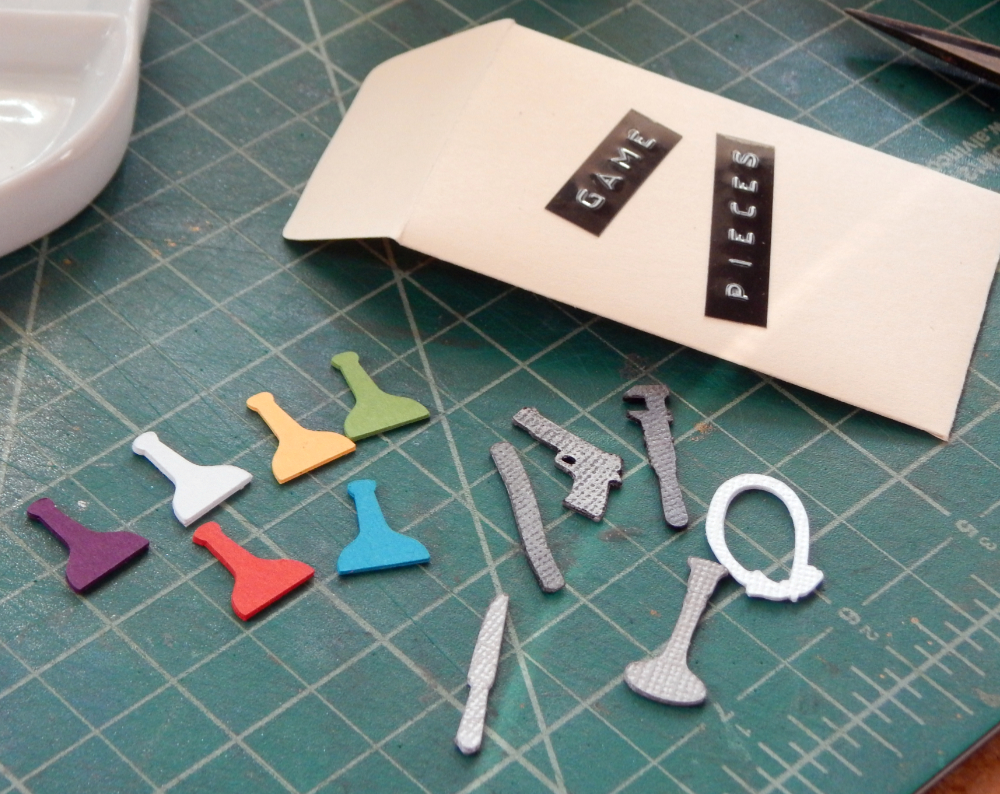
One of the goals I had for this game was to create as much of it as possible just from paper. (The only part of the game that wasn’t paper was the tiny dice I found. They were just so cute I had to use them.) So for the pieces, I cut out 3-4 layers of cardstock and glued them together to make a sturdy and more dimensional game piece. The weapons were super fun, I used a textured cardstock and used some of my metallic waxes to give them the look of metal.
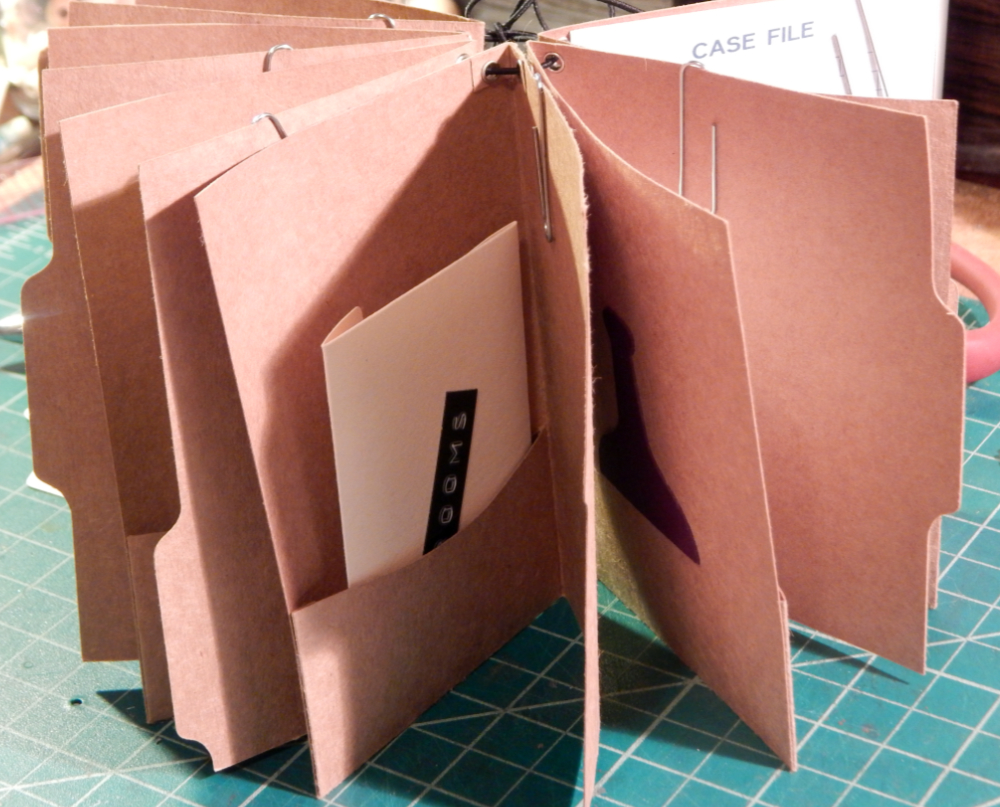
The next challenge was storage. I wanted everything to be compact and easy to keep track of all the cards and pieces. Now we get to me and my niece’s contribution to the game, the secrecy folder. It’s a handy tool for keeping your score card and game cards organized and away from prying eyes.
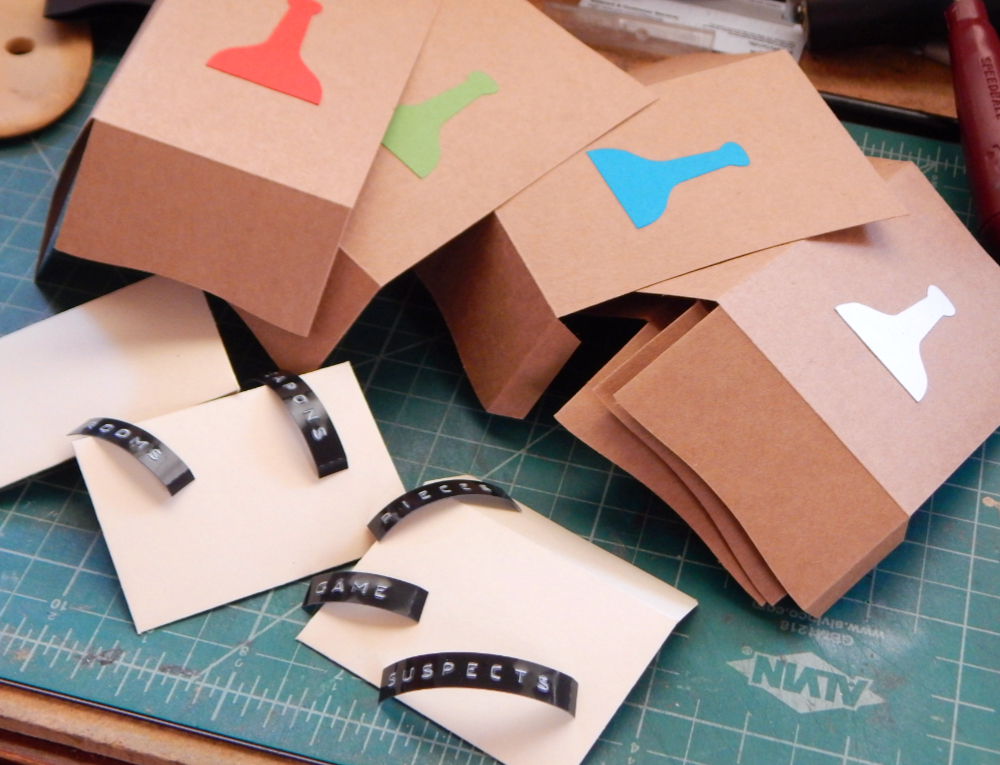
I used the cutting machine to cut out a bunch of envelopes and the secrecy folders. Each folder got a large game piece to color code them. And I always love an excuse to break out with my label maker to label all the envelopes!
I was so close to being done, but I still needed to make the score cards!

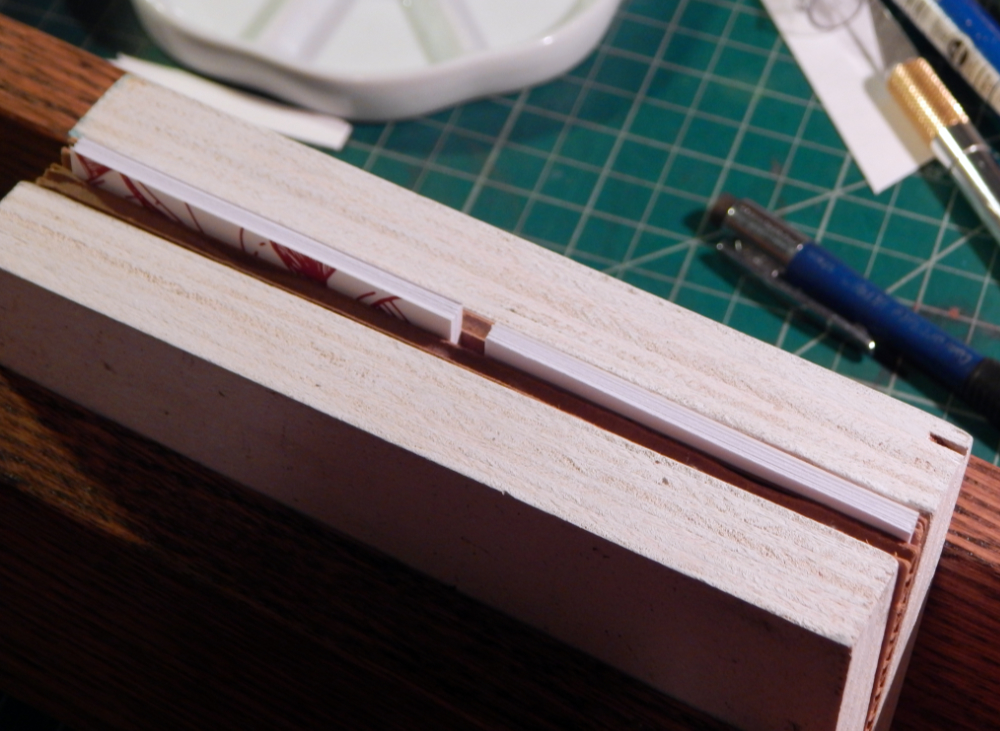
I got to use my bookbinding skills to make a couple of notepads. I used some recycled cardboard for the backs, put everything in the press, and applied some glue to just the top edge, and there you have it, a notepad! (I did change my mind in the middle of making these and put them together to make just one notepad of score cards and not two.)
Finally the finished game!

Here is how all the pieces were stored in the folders.
And then held it all together with some elastic.

You would think that it was all done, however, I needed a way to store the entire game! I had thought it would all fit into a large manila envelope, but even paper gets bulky when you put enough of it together. The envelope idea was still good, I just needed an expandable one! I went to the office supply store and picked up a cute blue expandable file pocket. With just a bit of modification, it was perfect!

I added I bit to the sides to prevent any parts from falling out.

Everything compact and ready to go! After months of work I was very happy with how it all turned out, and my niece loves her “Pocket Clue” game!
All photos and content are copyright protected. Please do not use any pictures without permission. Thank you! ©2021
